Skip to product information

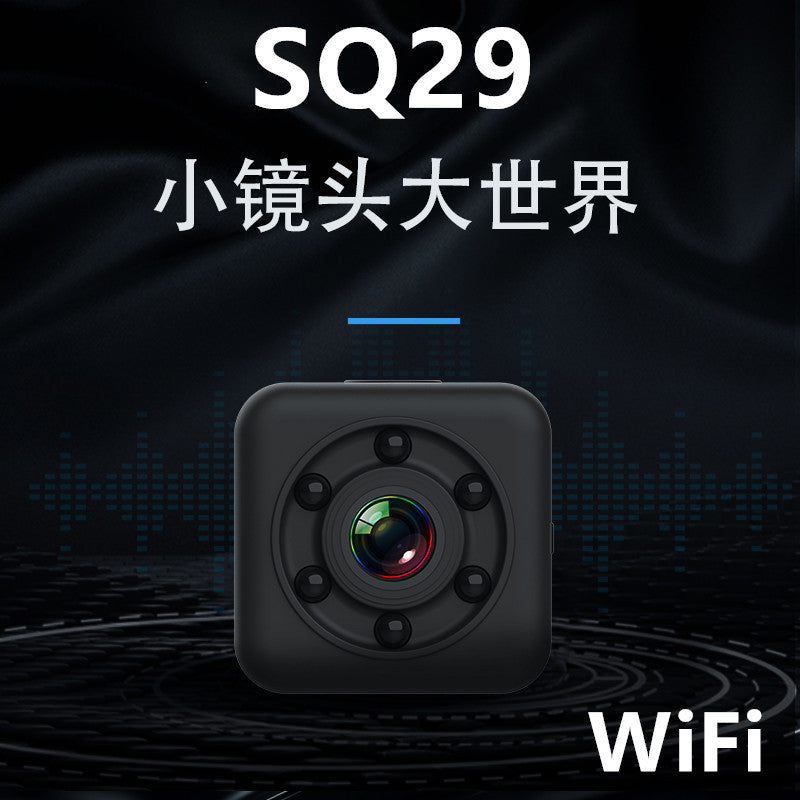


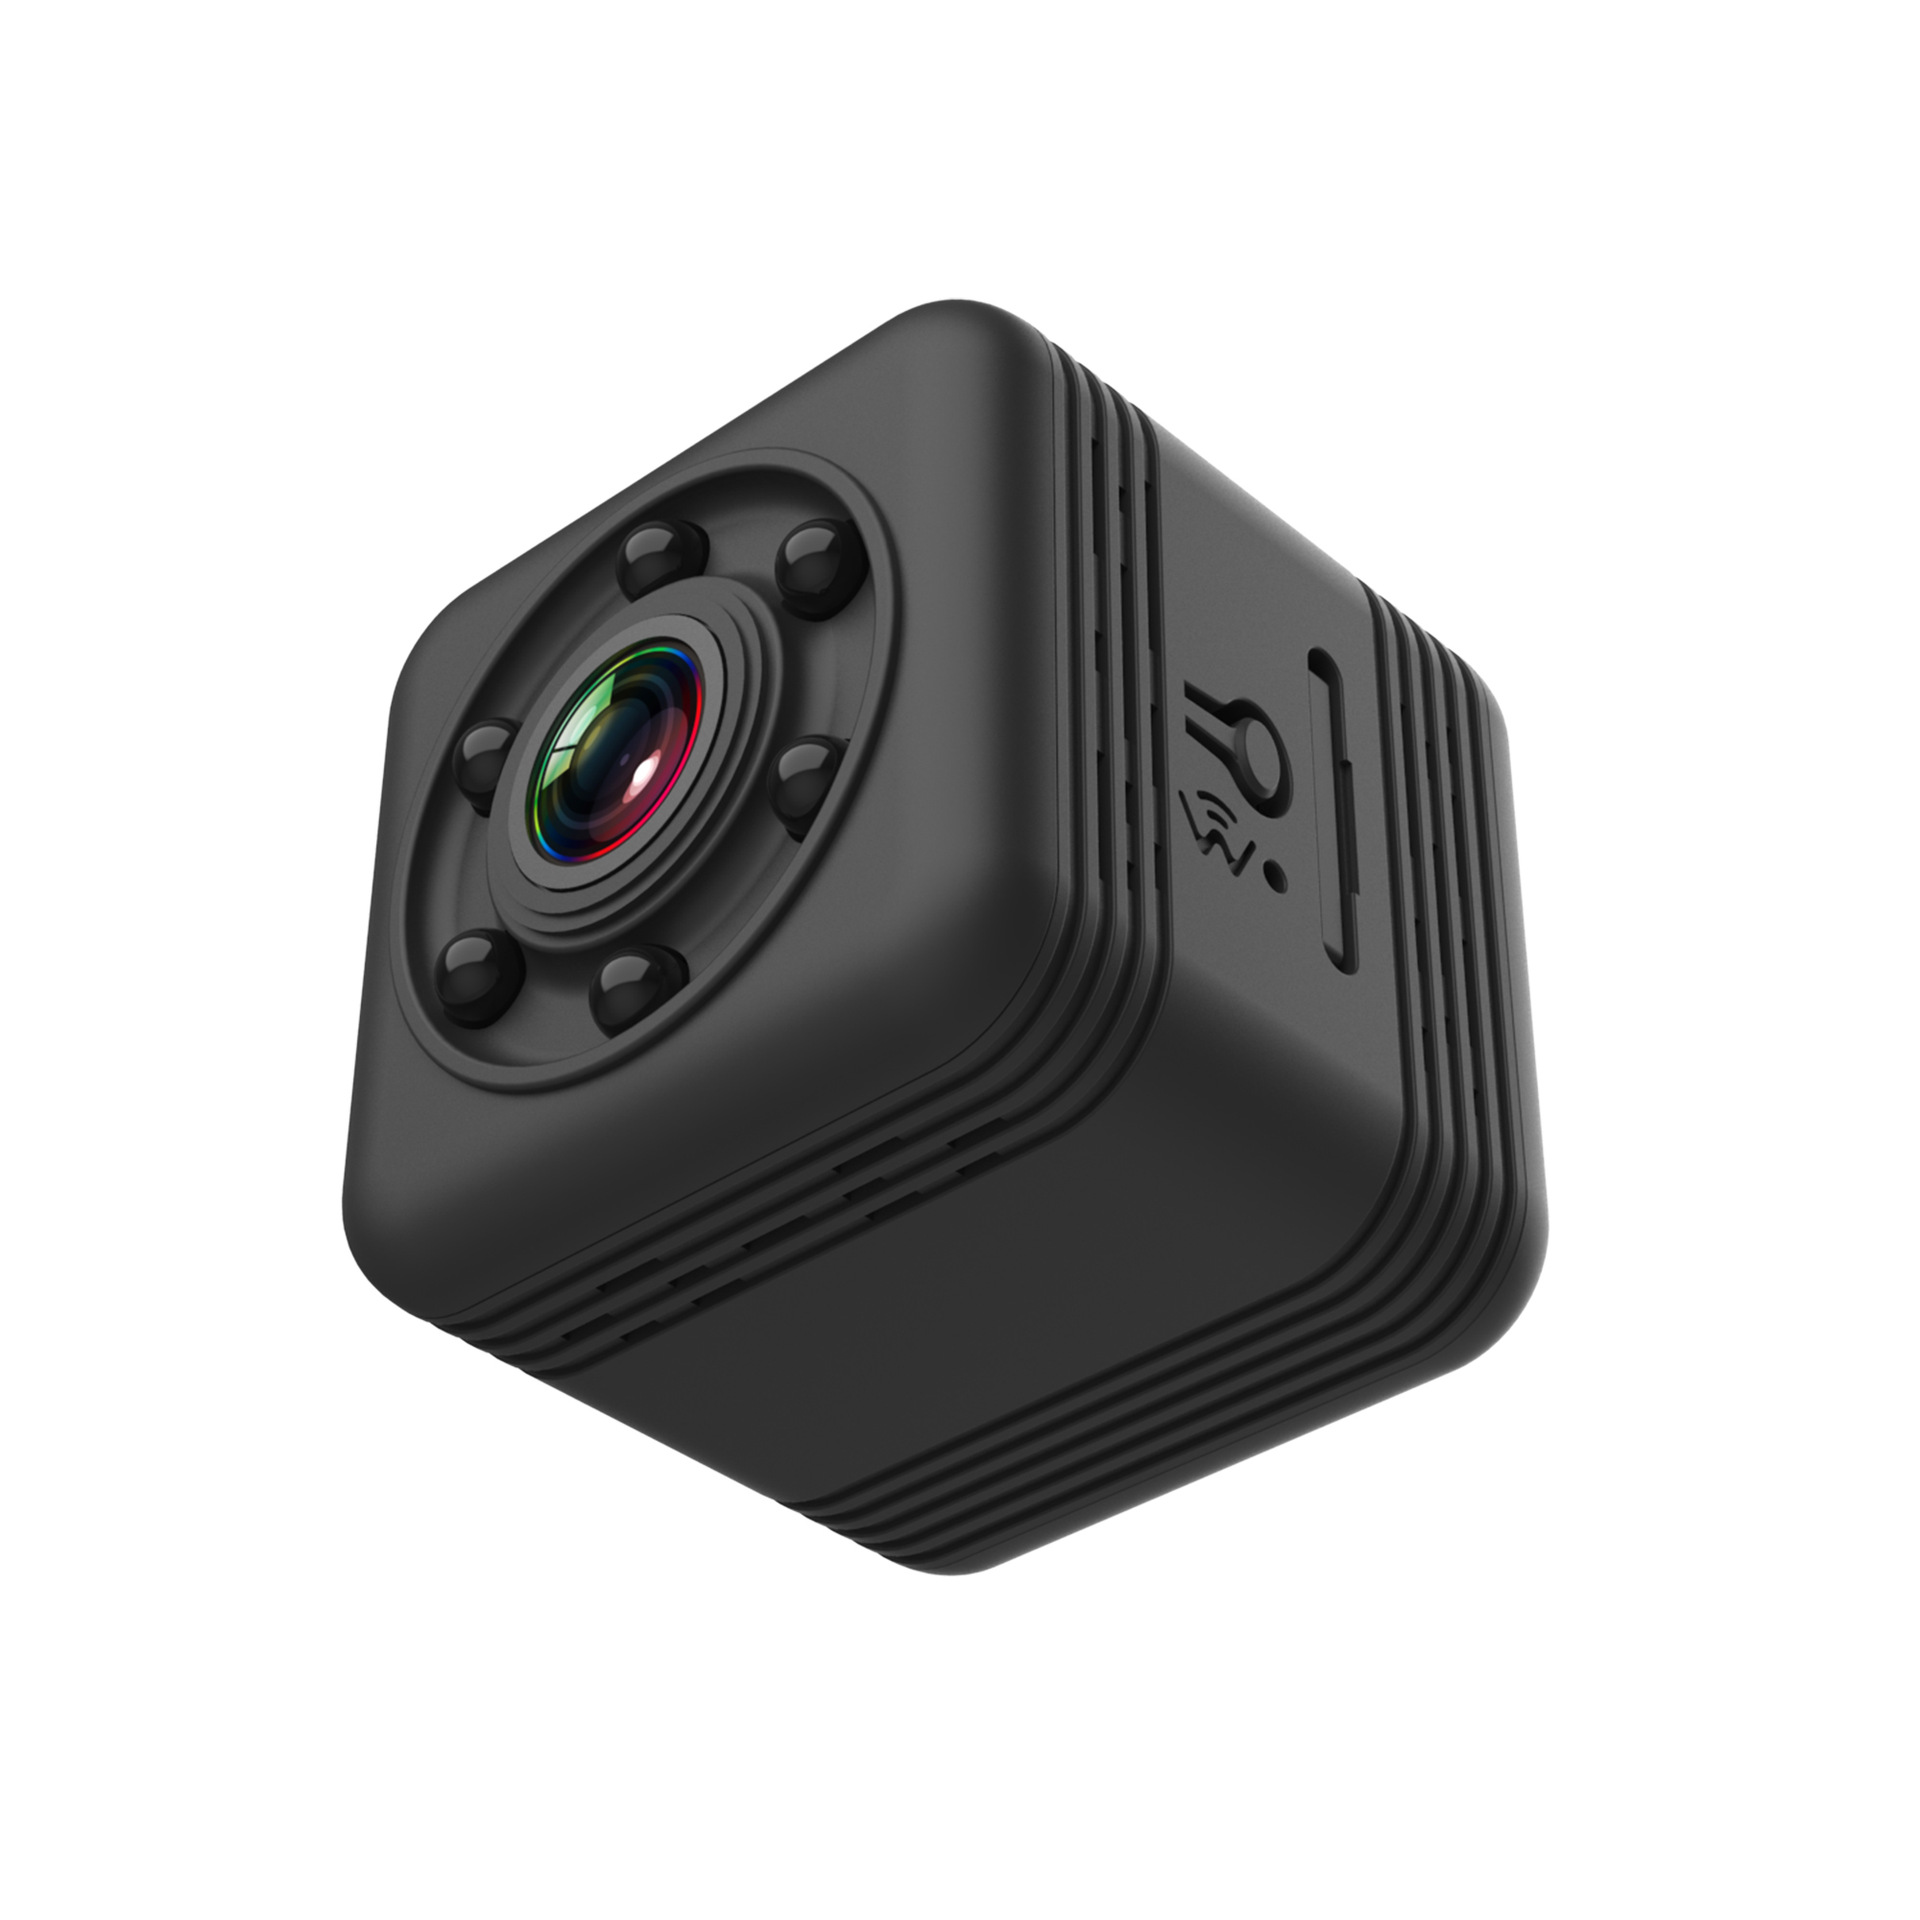
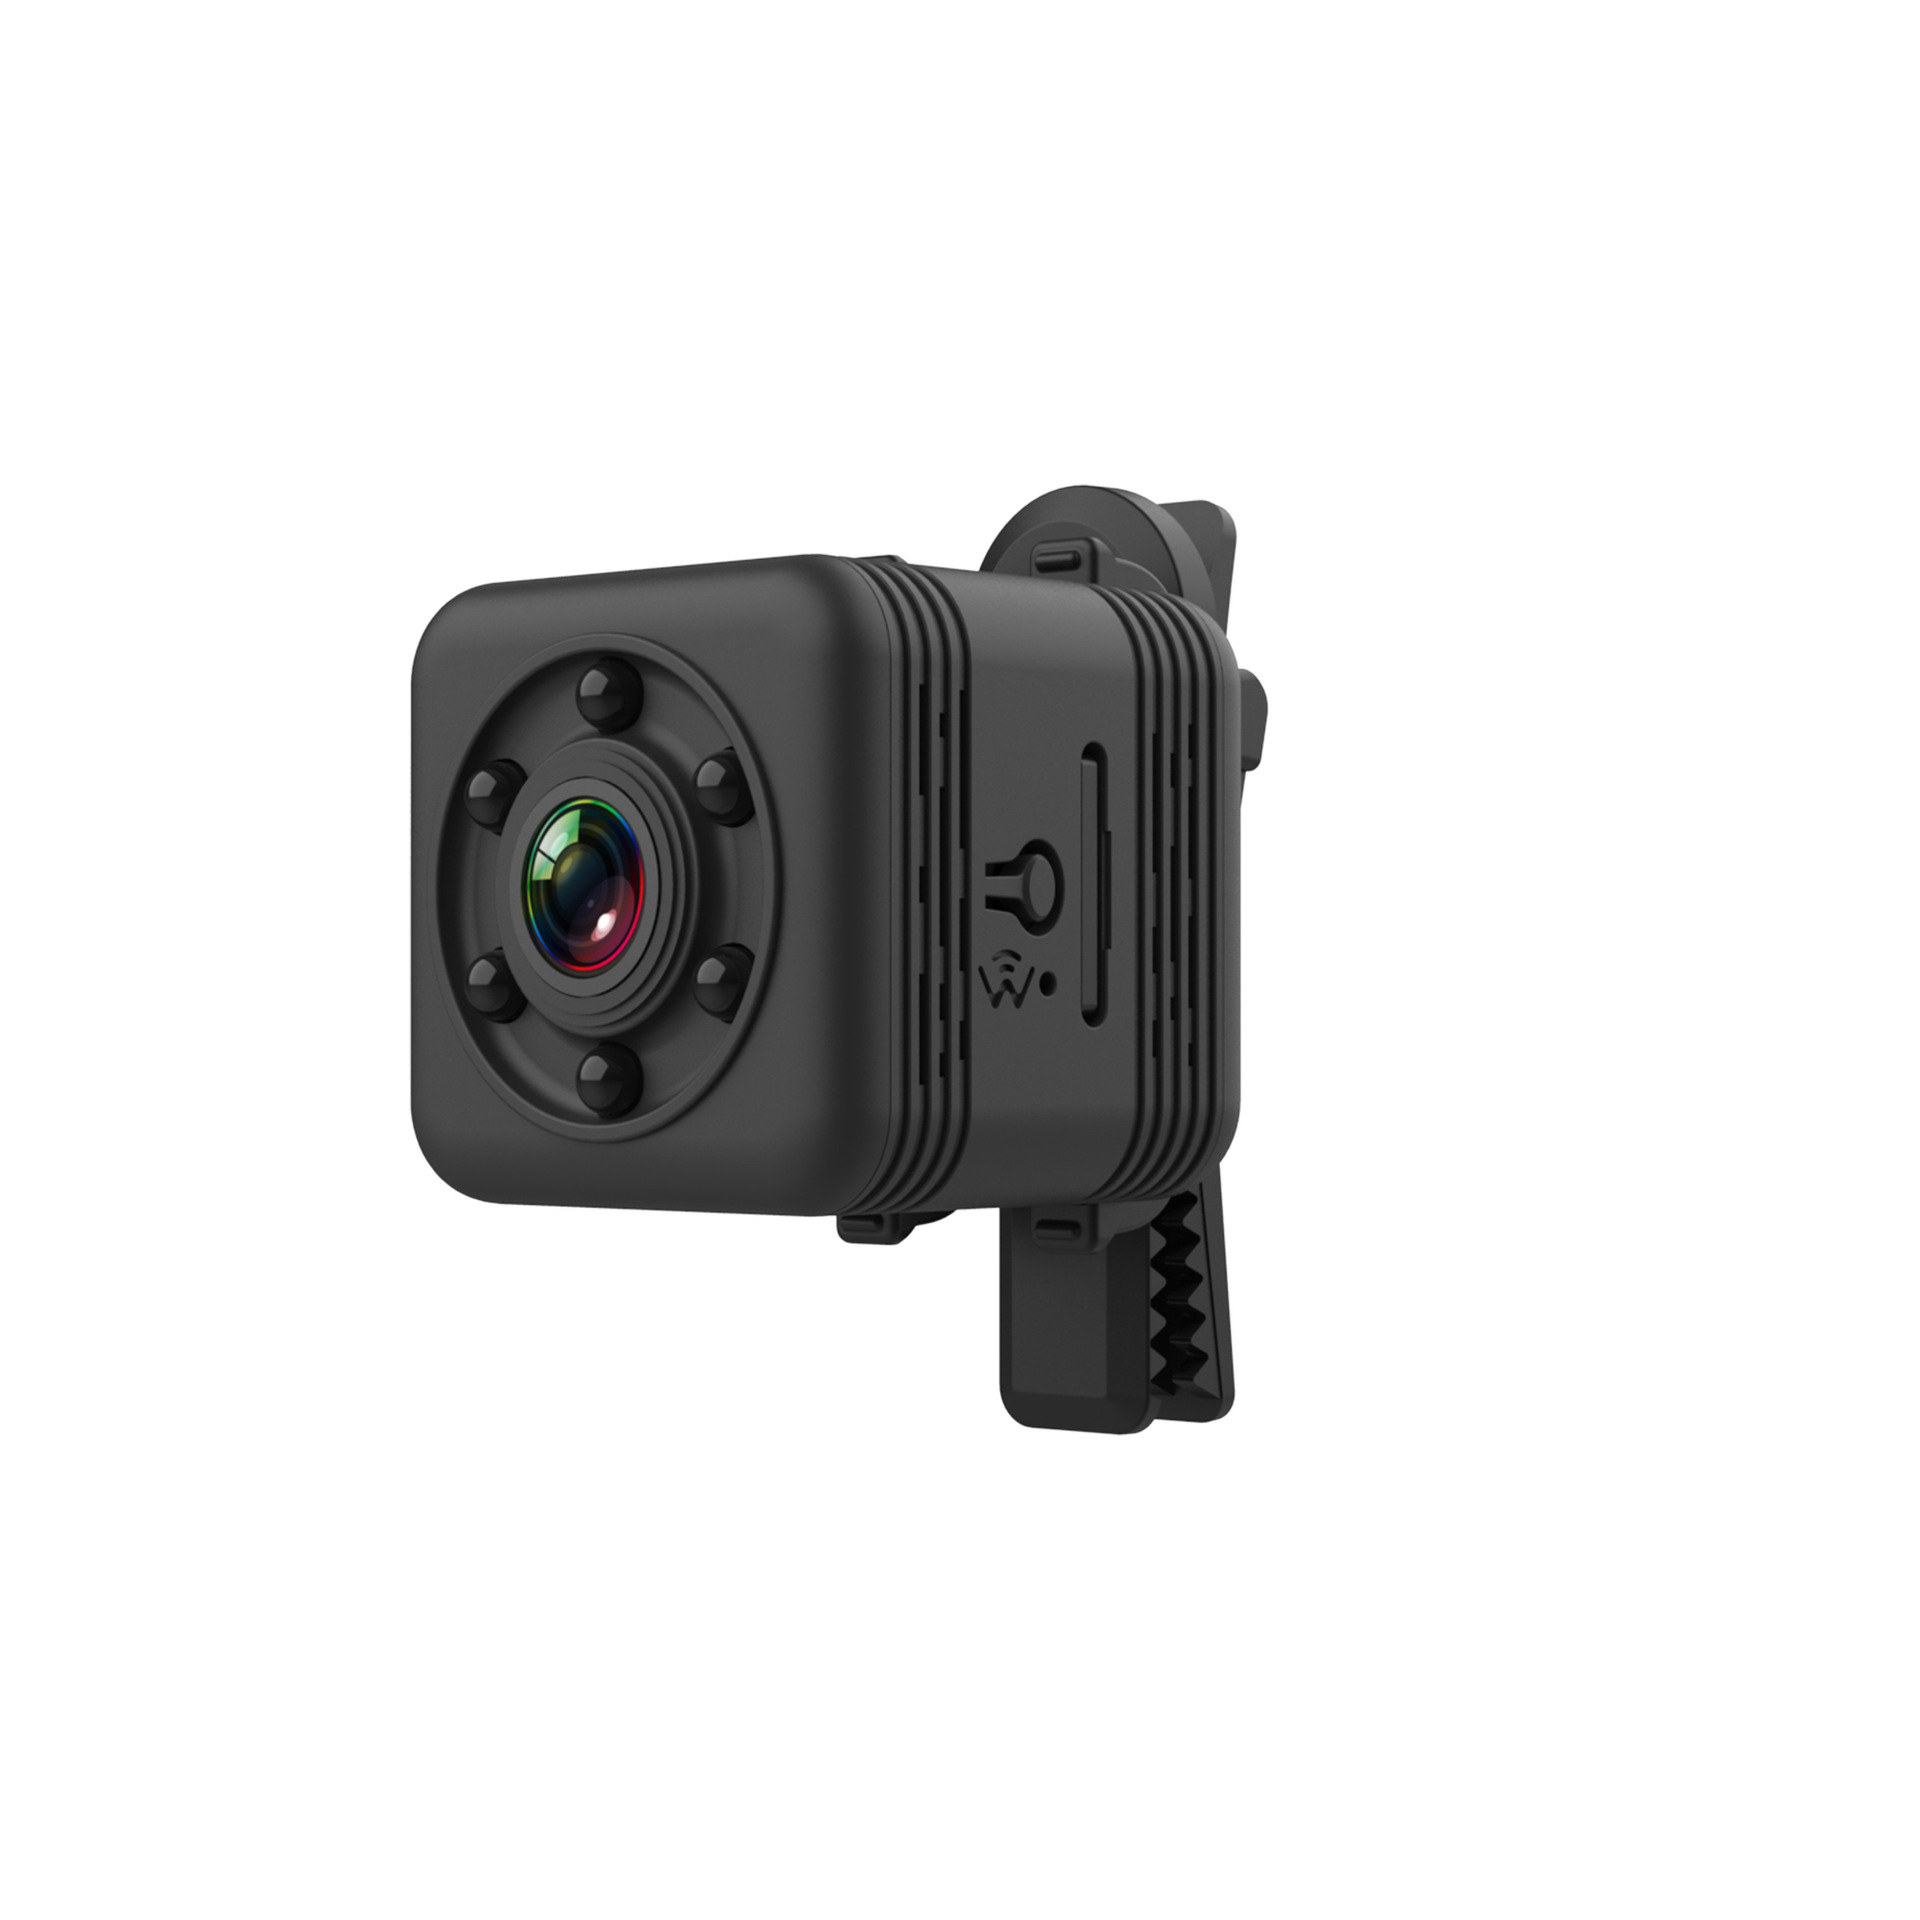
Waterproof Sports Camera Camera Outdoor Waterproof Camera Wifi Hotspot Sports Camera
Rs.7,680.00
Reliable shipping
Flexible returns


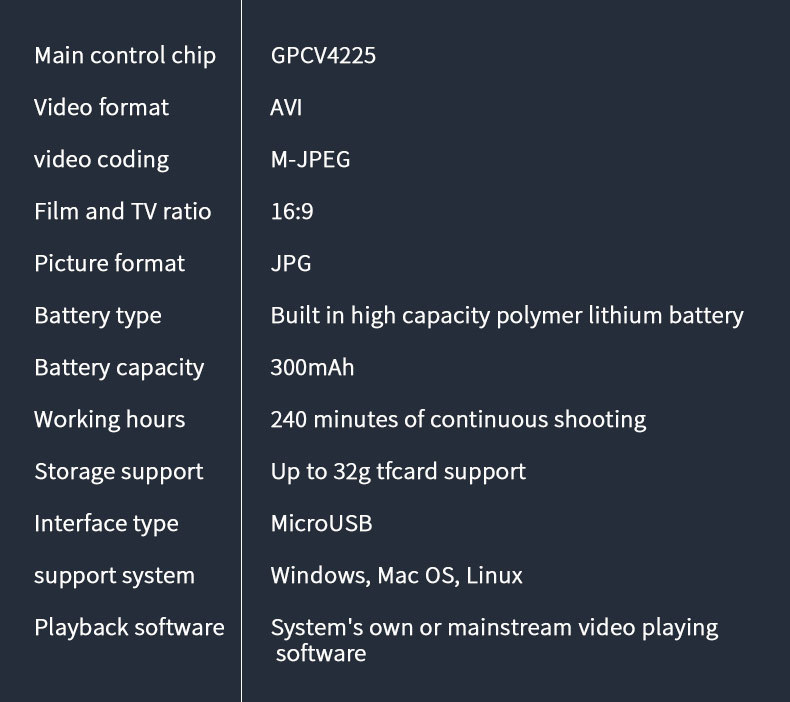

| SQ29wifi运动DV规格参数 | |||||
| Full specifications 全部参数 | |||||
| Camera lens镜头 | sensor 感光器 | BF3A03 | |||
| Focal length(焦距) | 3.2mm | ||||
| View Angle(视场) | 65 | ||||
| main parameter主要参数 | Main control chip(主控芯片) | GPCV4225 | |||
| memory( 内存) | TF Card, up to 32GB | ||||
| USB(接口) | MicroUSB2.0 5PIN | ||||
| microphone (麦克风) | Built-in | ||||
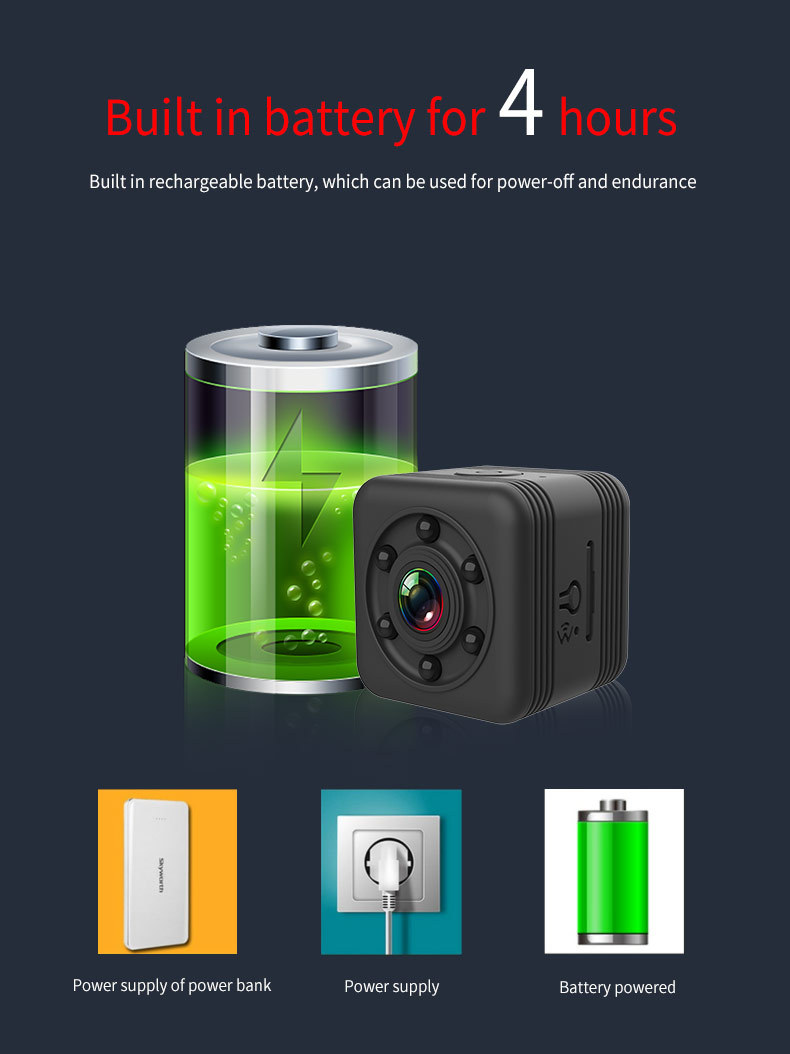
| Battery 电池 | Battery capacity(电池容量) | 300mAh | |||
| type of battery(电池类型) | Lithium polymer battery | ||||
| Battery voltage(电池电压) | 3.7V | ||||
| Battery weight(电池重量) | 6.1g | ||||
| Battery Specification(电池规格) | 702323 | ||||
| Image 图像 | Image Resolution (图片分辨率) | 640×480 | |||
| File format (图片格式) | JPG | ||||
| Video 视频 |
video resolution(视频分辨率) | 640×480 | |||
| video (compression) format (视频压缩格式) | AVI(M-JPEG) | ||||
| Continous Video Recording Time (可录时间长) | Video Recording 240minutes | ||||
| Other Parameters 其它 |
Operating Temperature(工作温度) | -10~50℃ | |||
| WIFI distance(WIFI 距离) | 15 meter | ||||
| night vision distance(夜视距离) | 2-3minutes | ||||
| Storage Temperature(储存温度) | -10~70℃ | ||||
| Humidity environment(湿度环境) | 5%-90%(No condensation) | ||||
| plastics accessories(塑胶配件) | have | ||||
| Package 包装参数 |
size(mm) 尺寸 | 28.2*27.5*26mm | |||
| Net weight(净重量) | 19.8g | ||||
| Gift Box Size(彩盒尺寸) | 112mm*112mm*45mm | ||||
| full set weight(全套重量) | 121.2g | ||||
| Packing quantity(装箱数量) | 100 | ||||
| Packing weight(装箱重量) | 12.12kg | ||||
| Carton box weight(纸箱重量) | 0.96kg | ||||
| Carton Box Size(纸箱尺寸) | 57.5x46X24.3cm | ||||
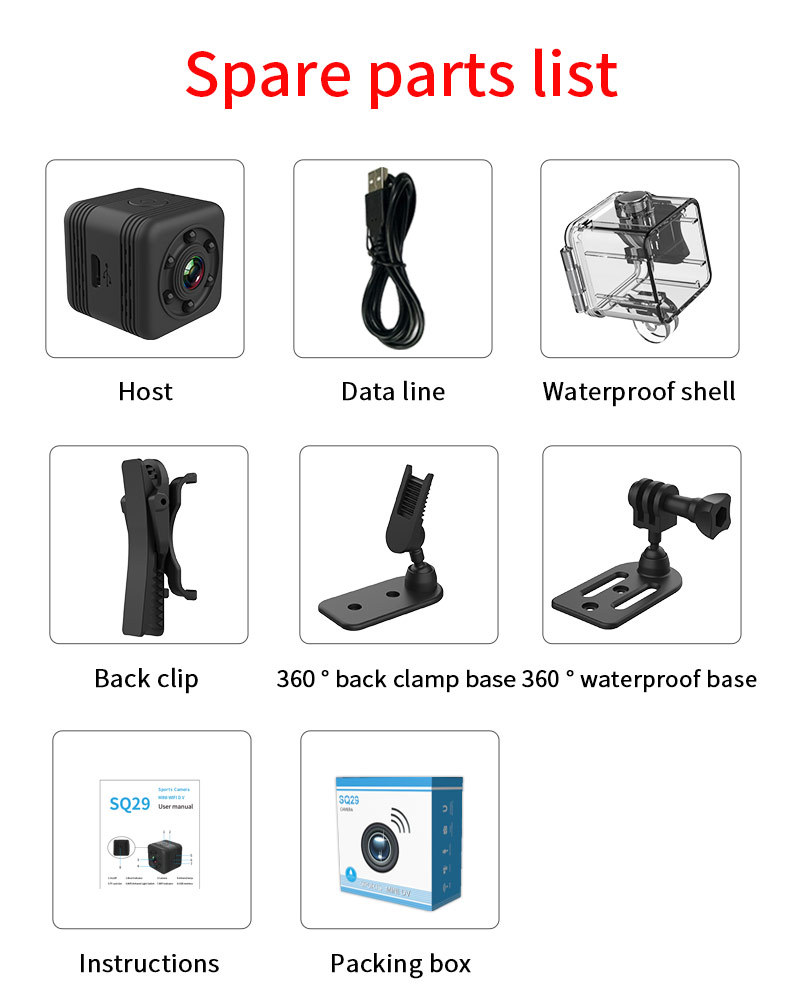
| Packing accessories 包装附件 |
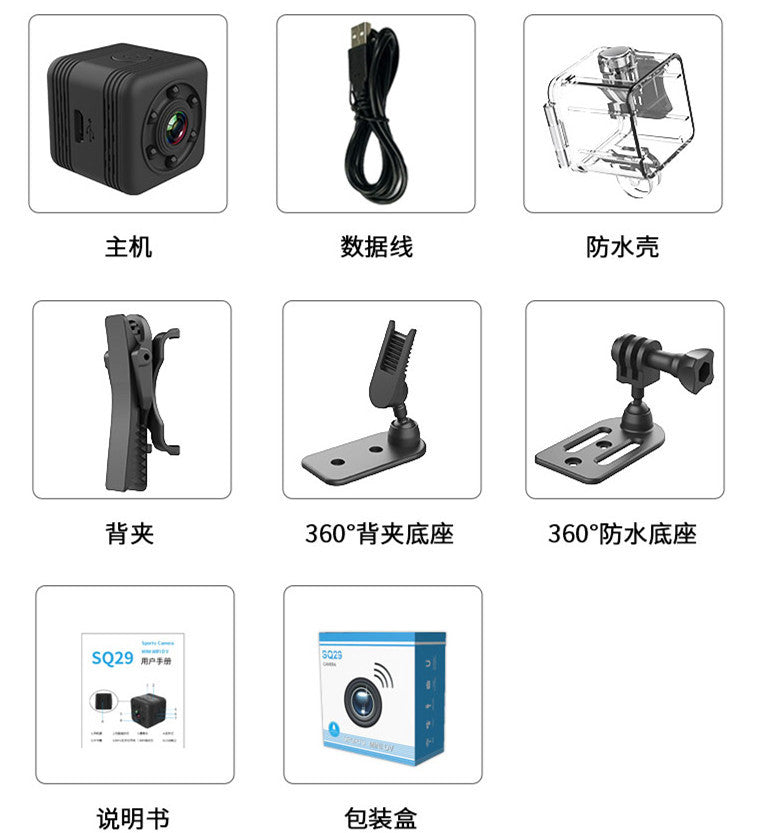
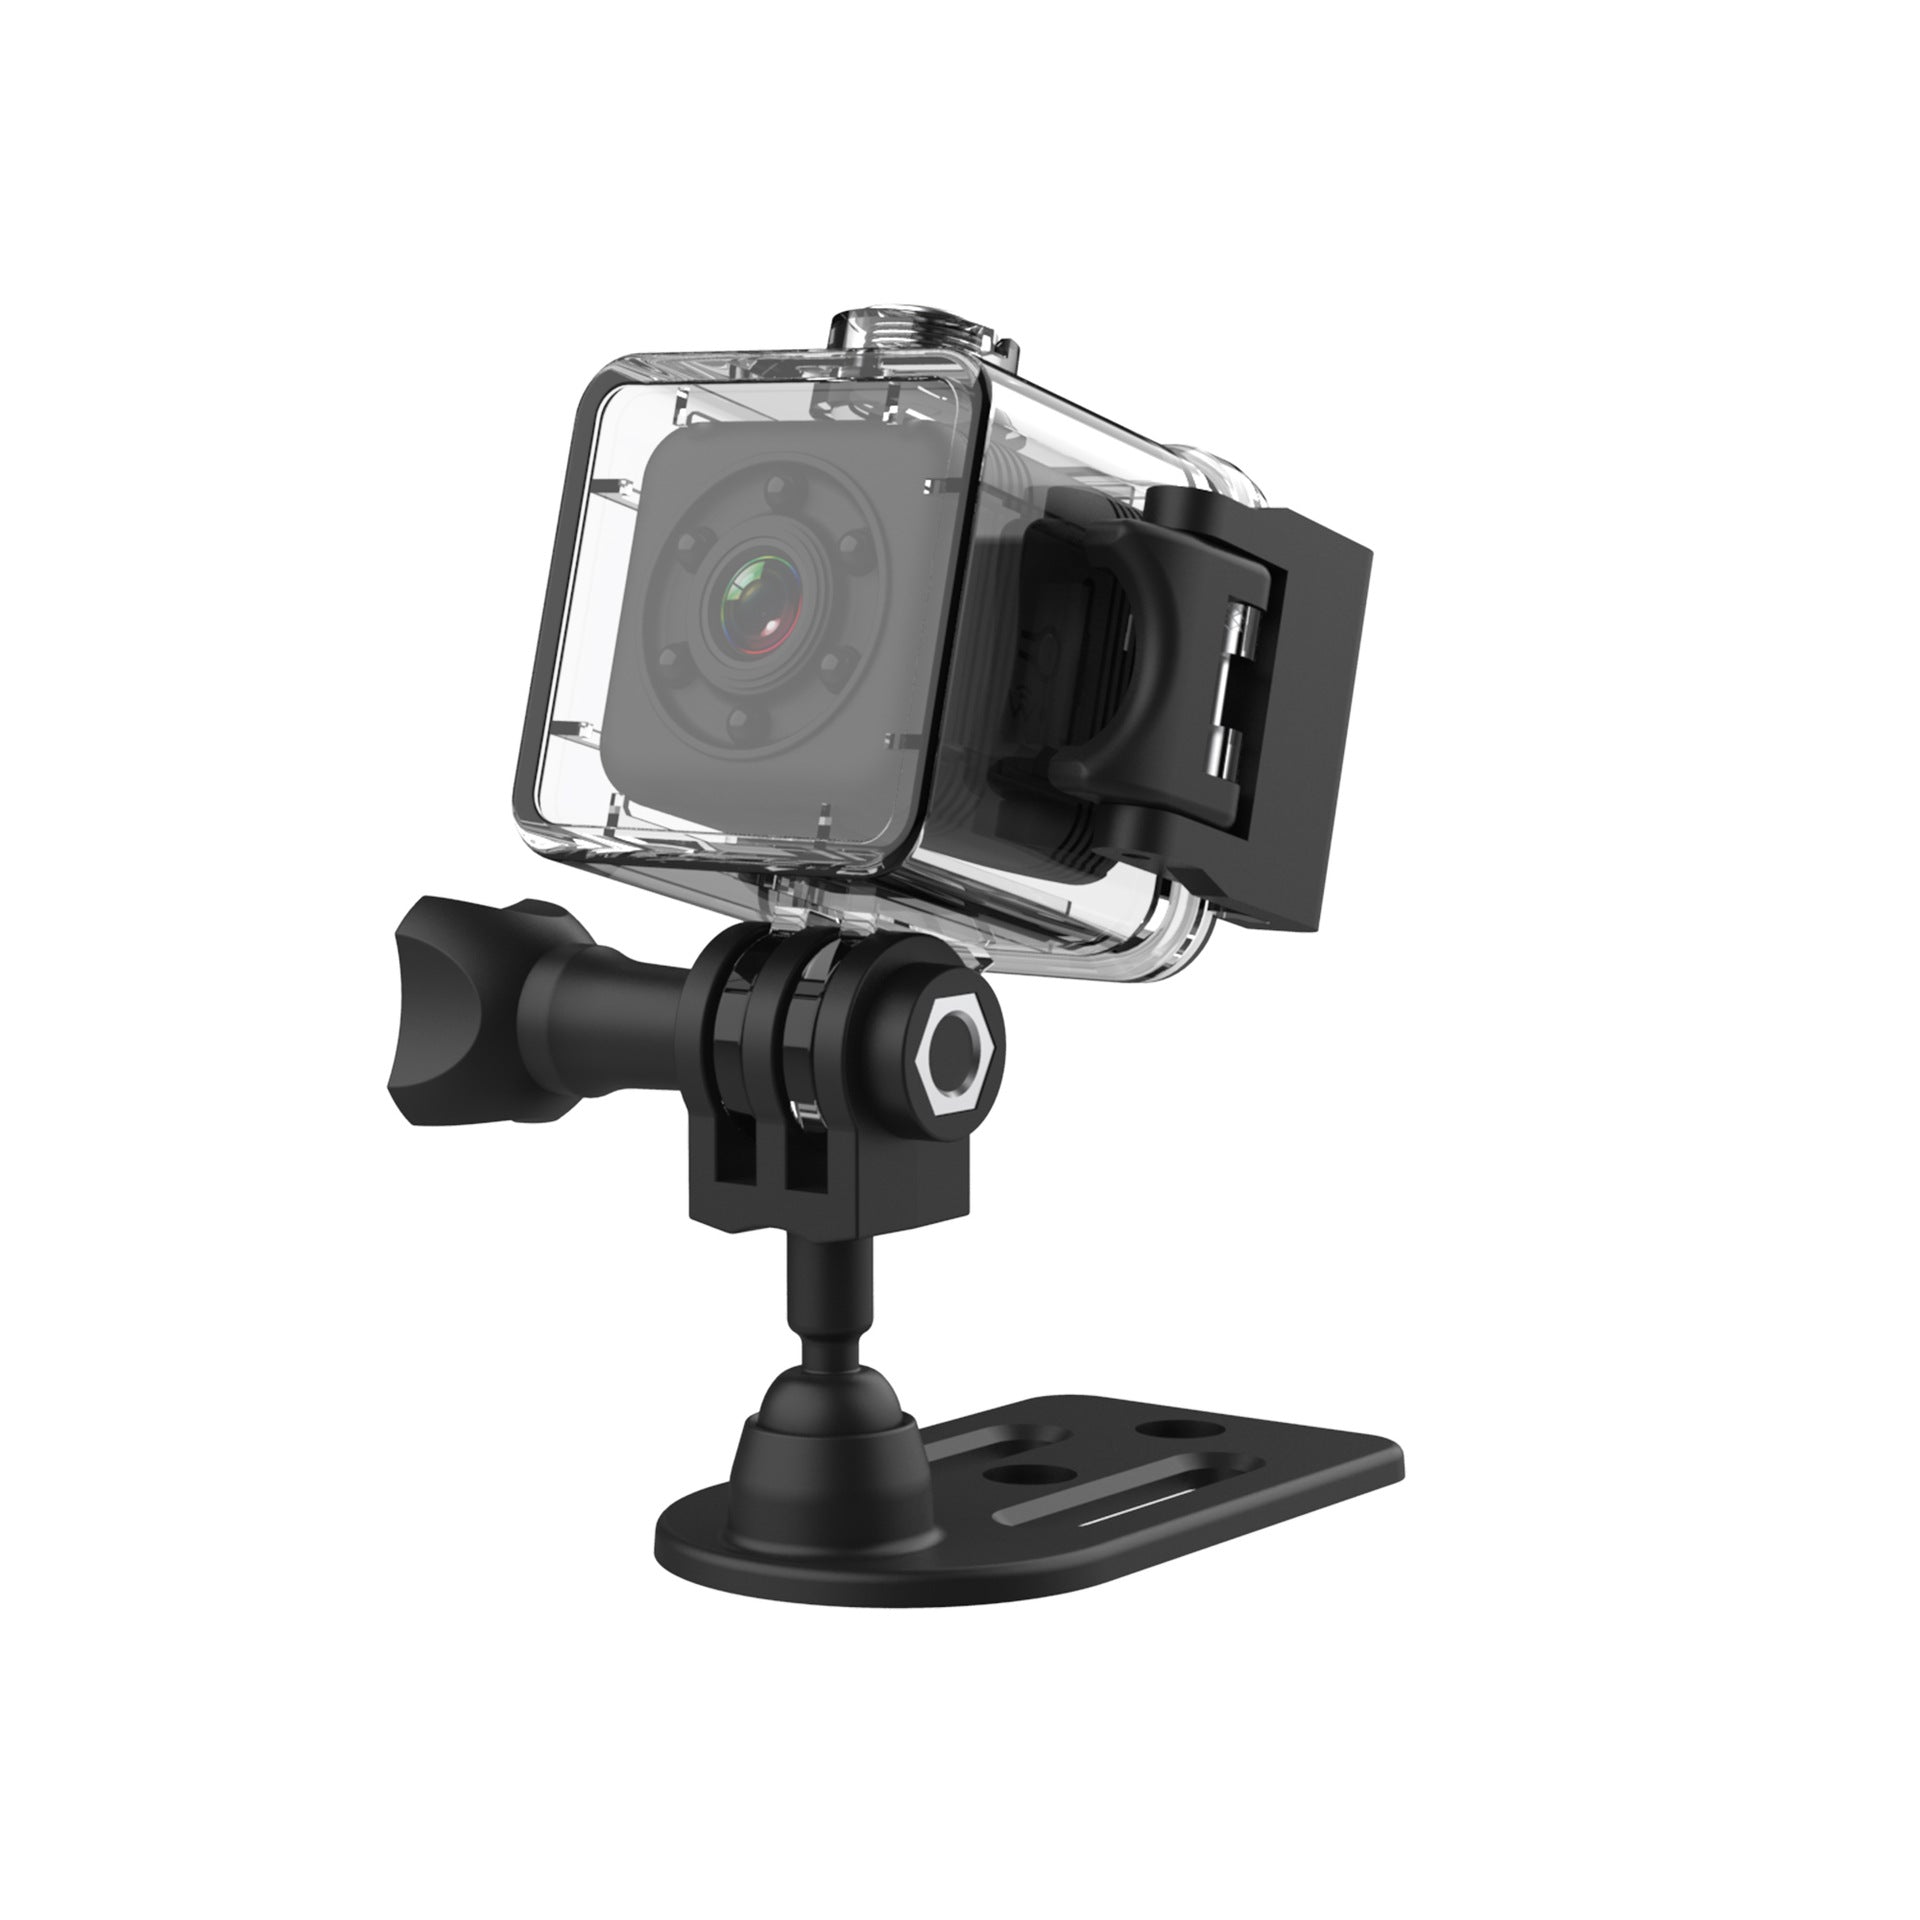
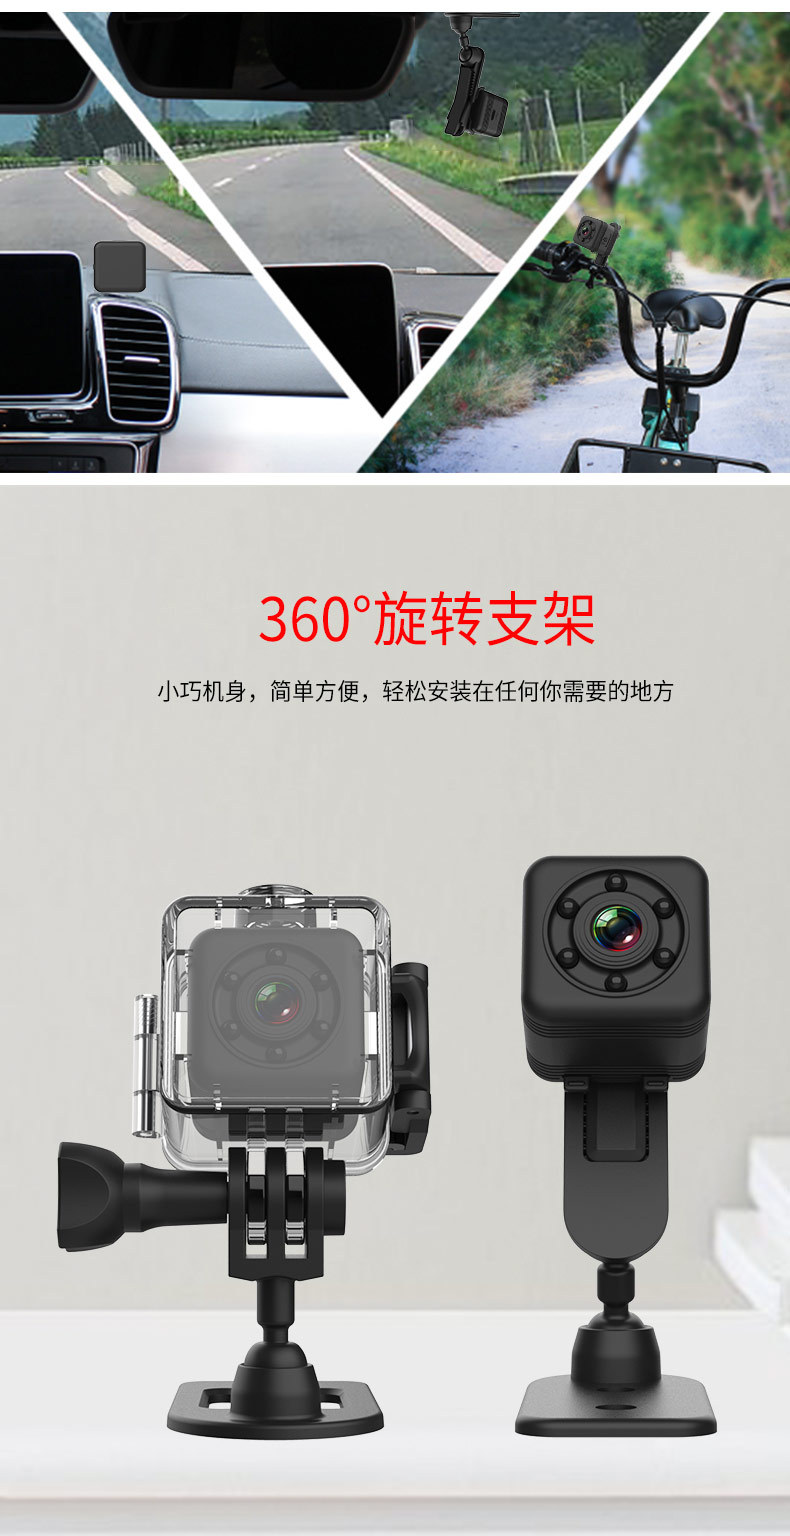
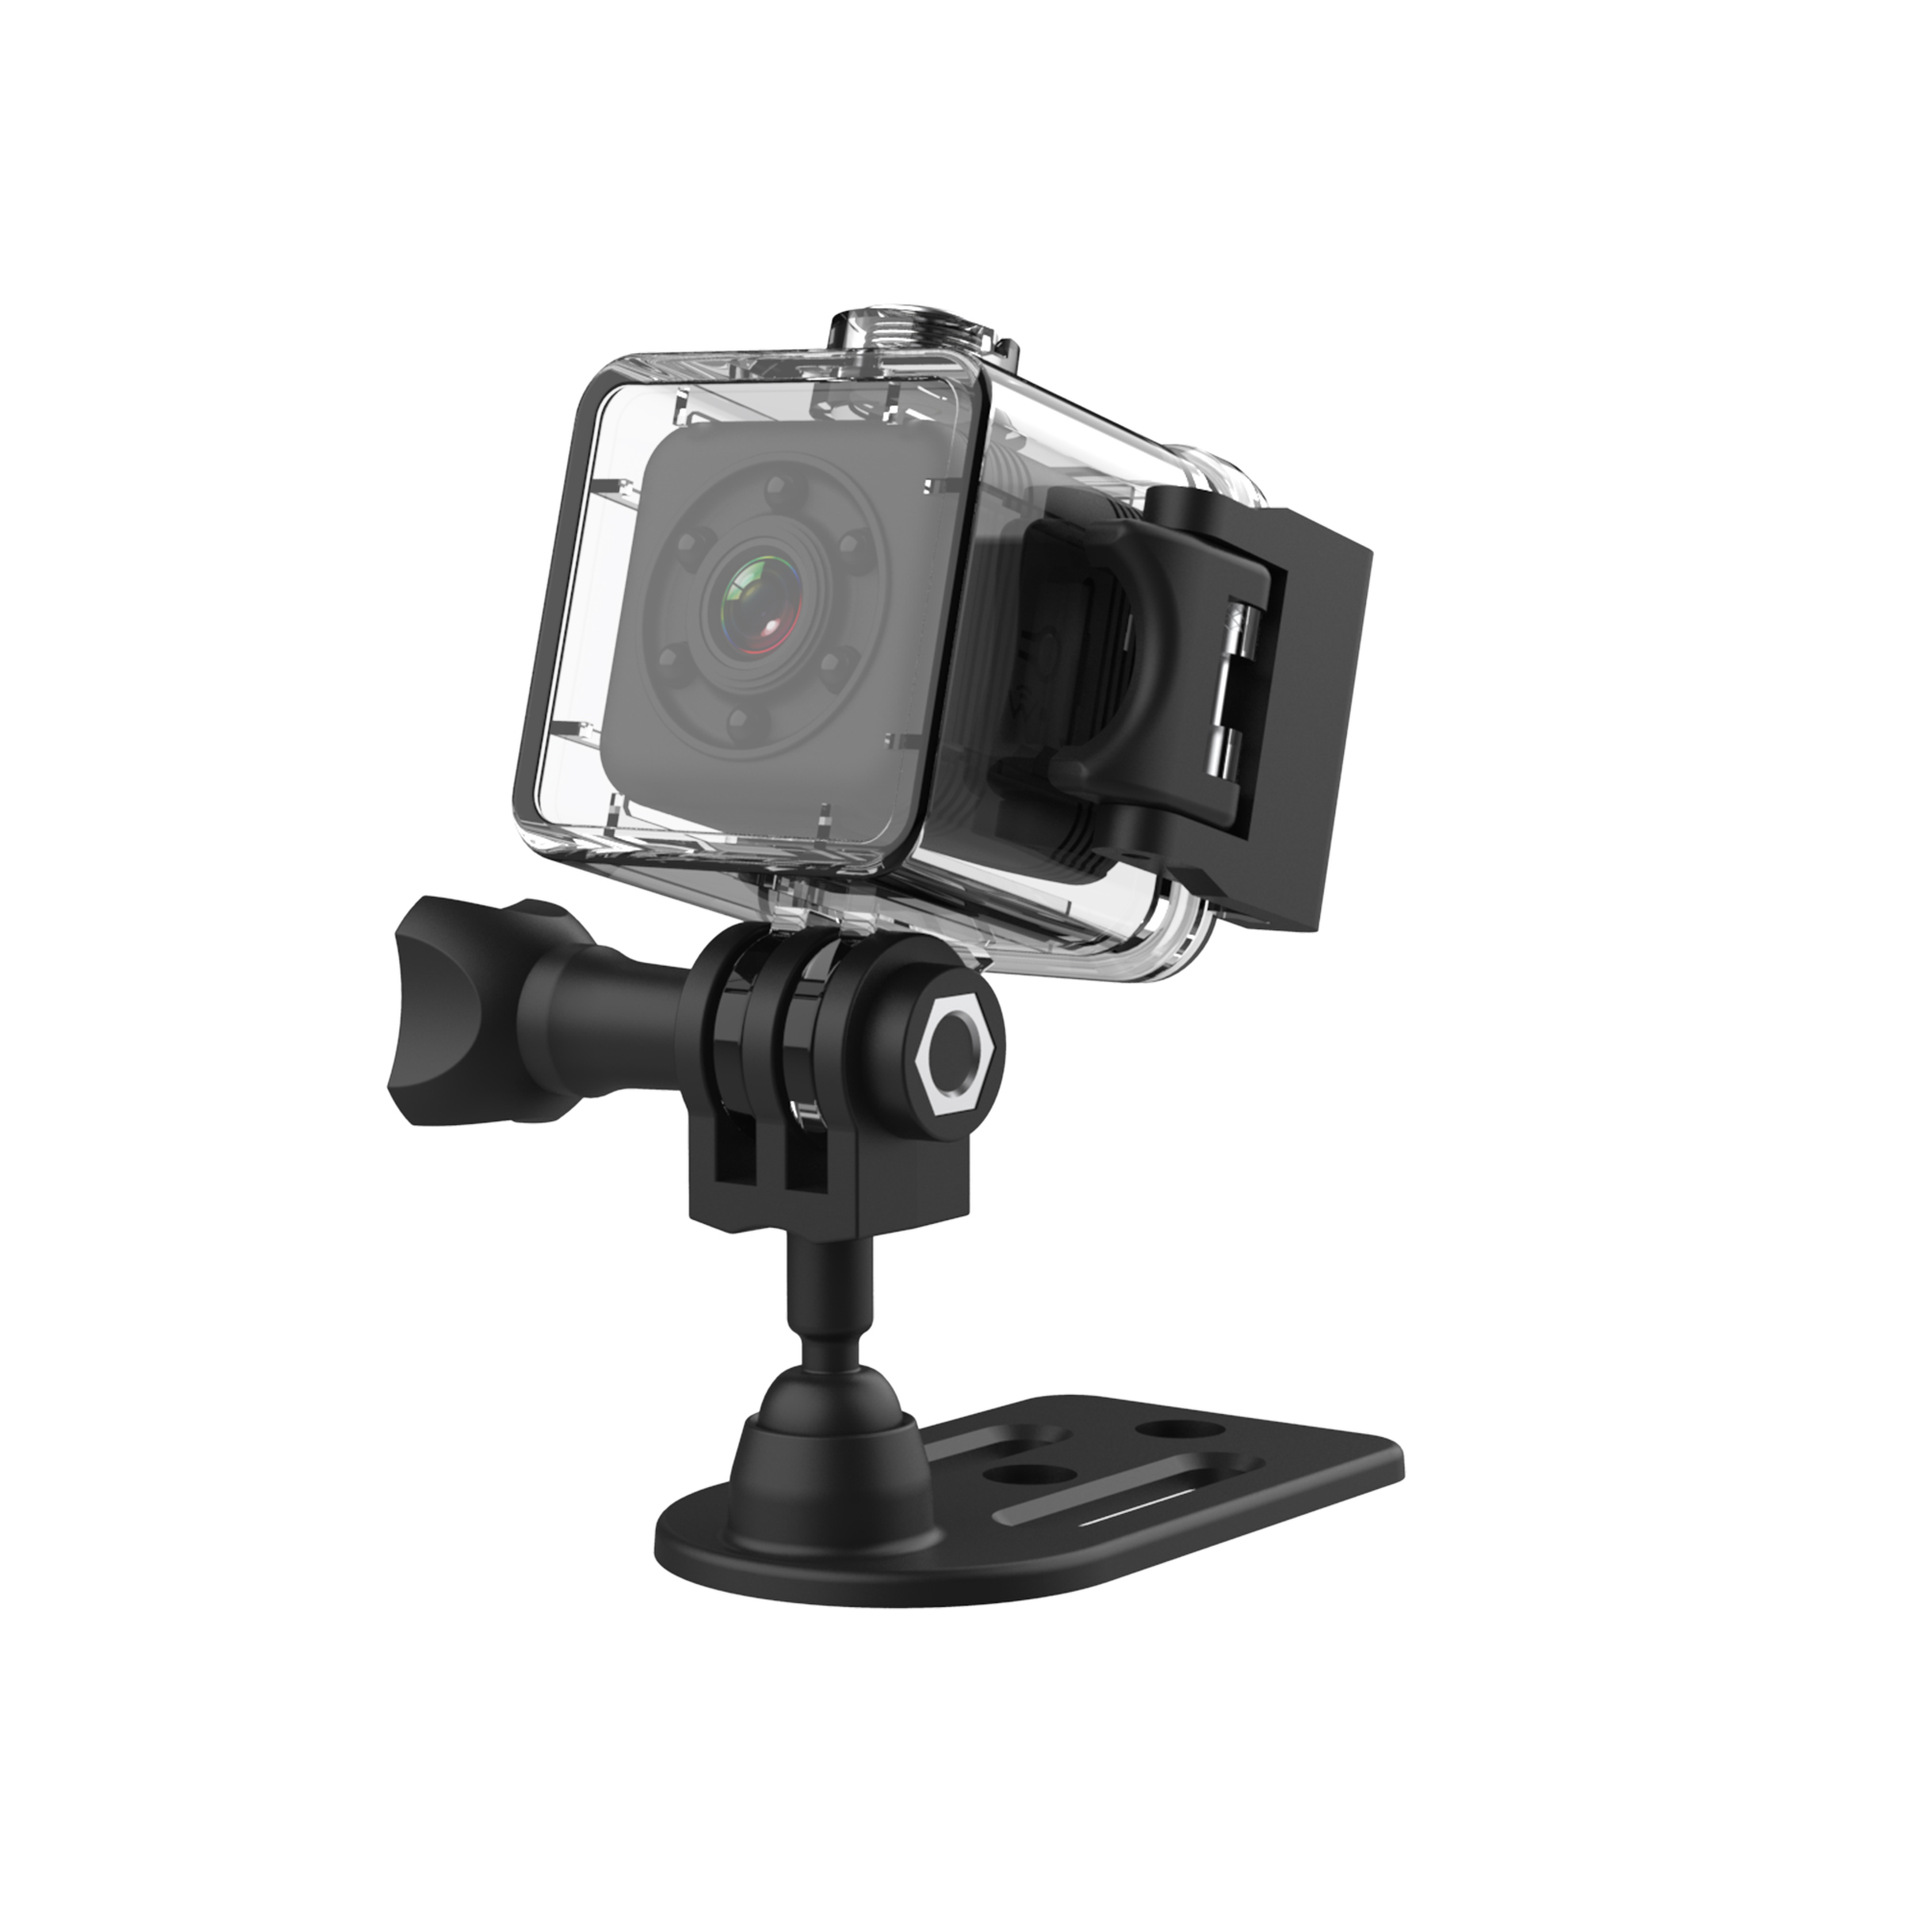
1、User manual (说明书) 2、Giftbox packing (彩盒) 3、USB data cable(数据线) 4、camera mount(支架 360度磁铁底壳 防水壳) |
||||
User Manual
l Product features
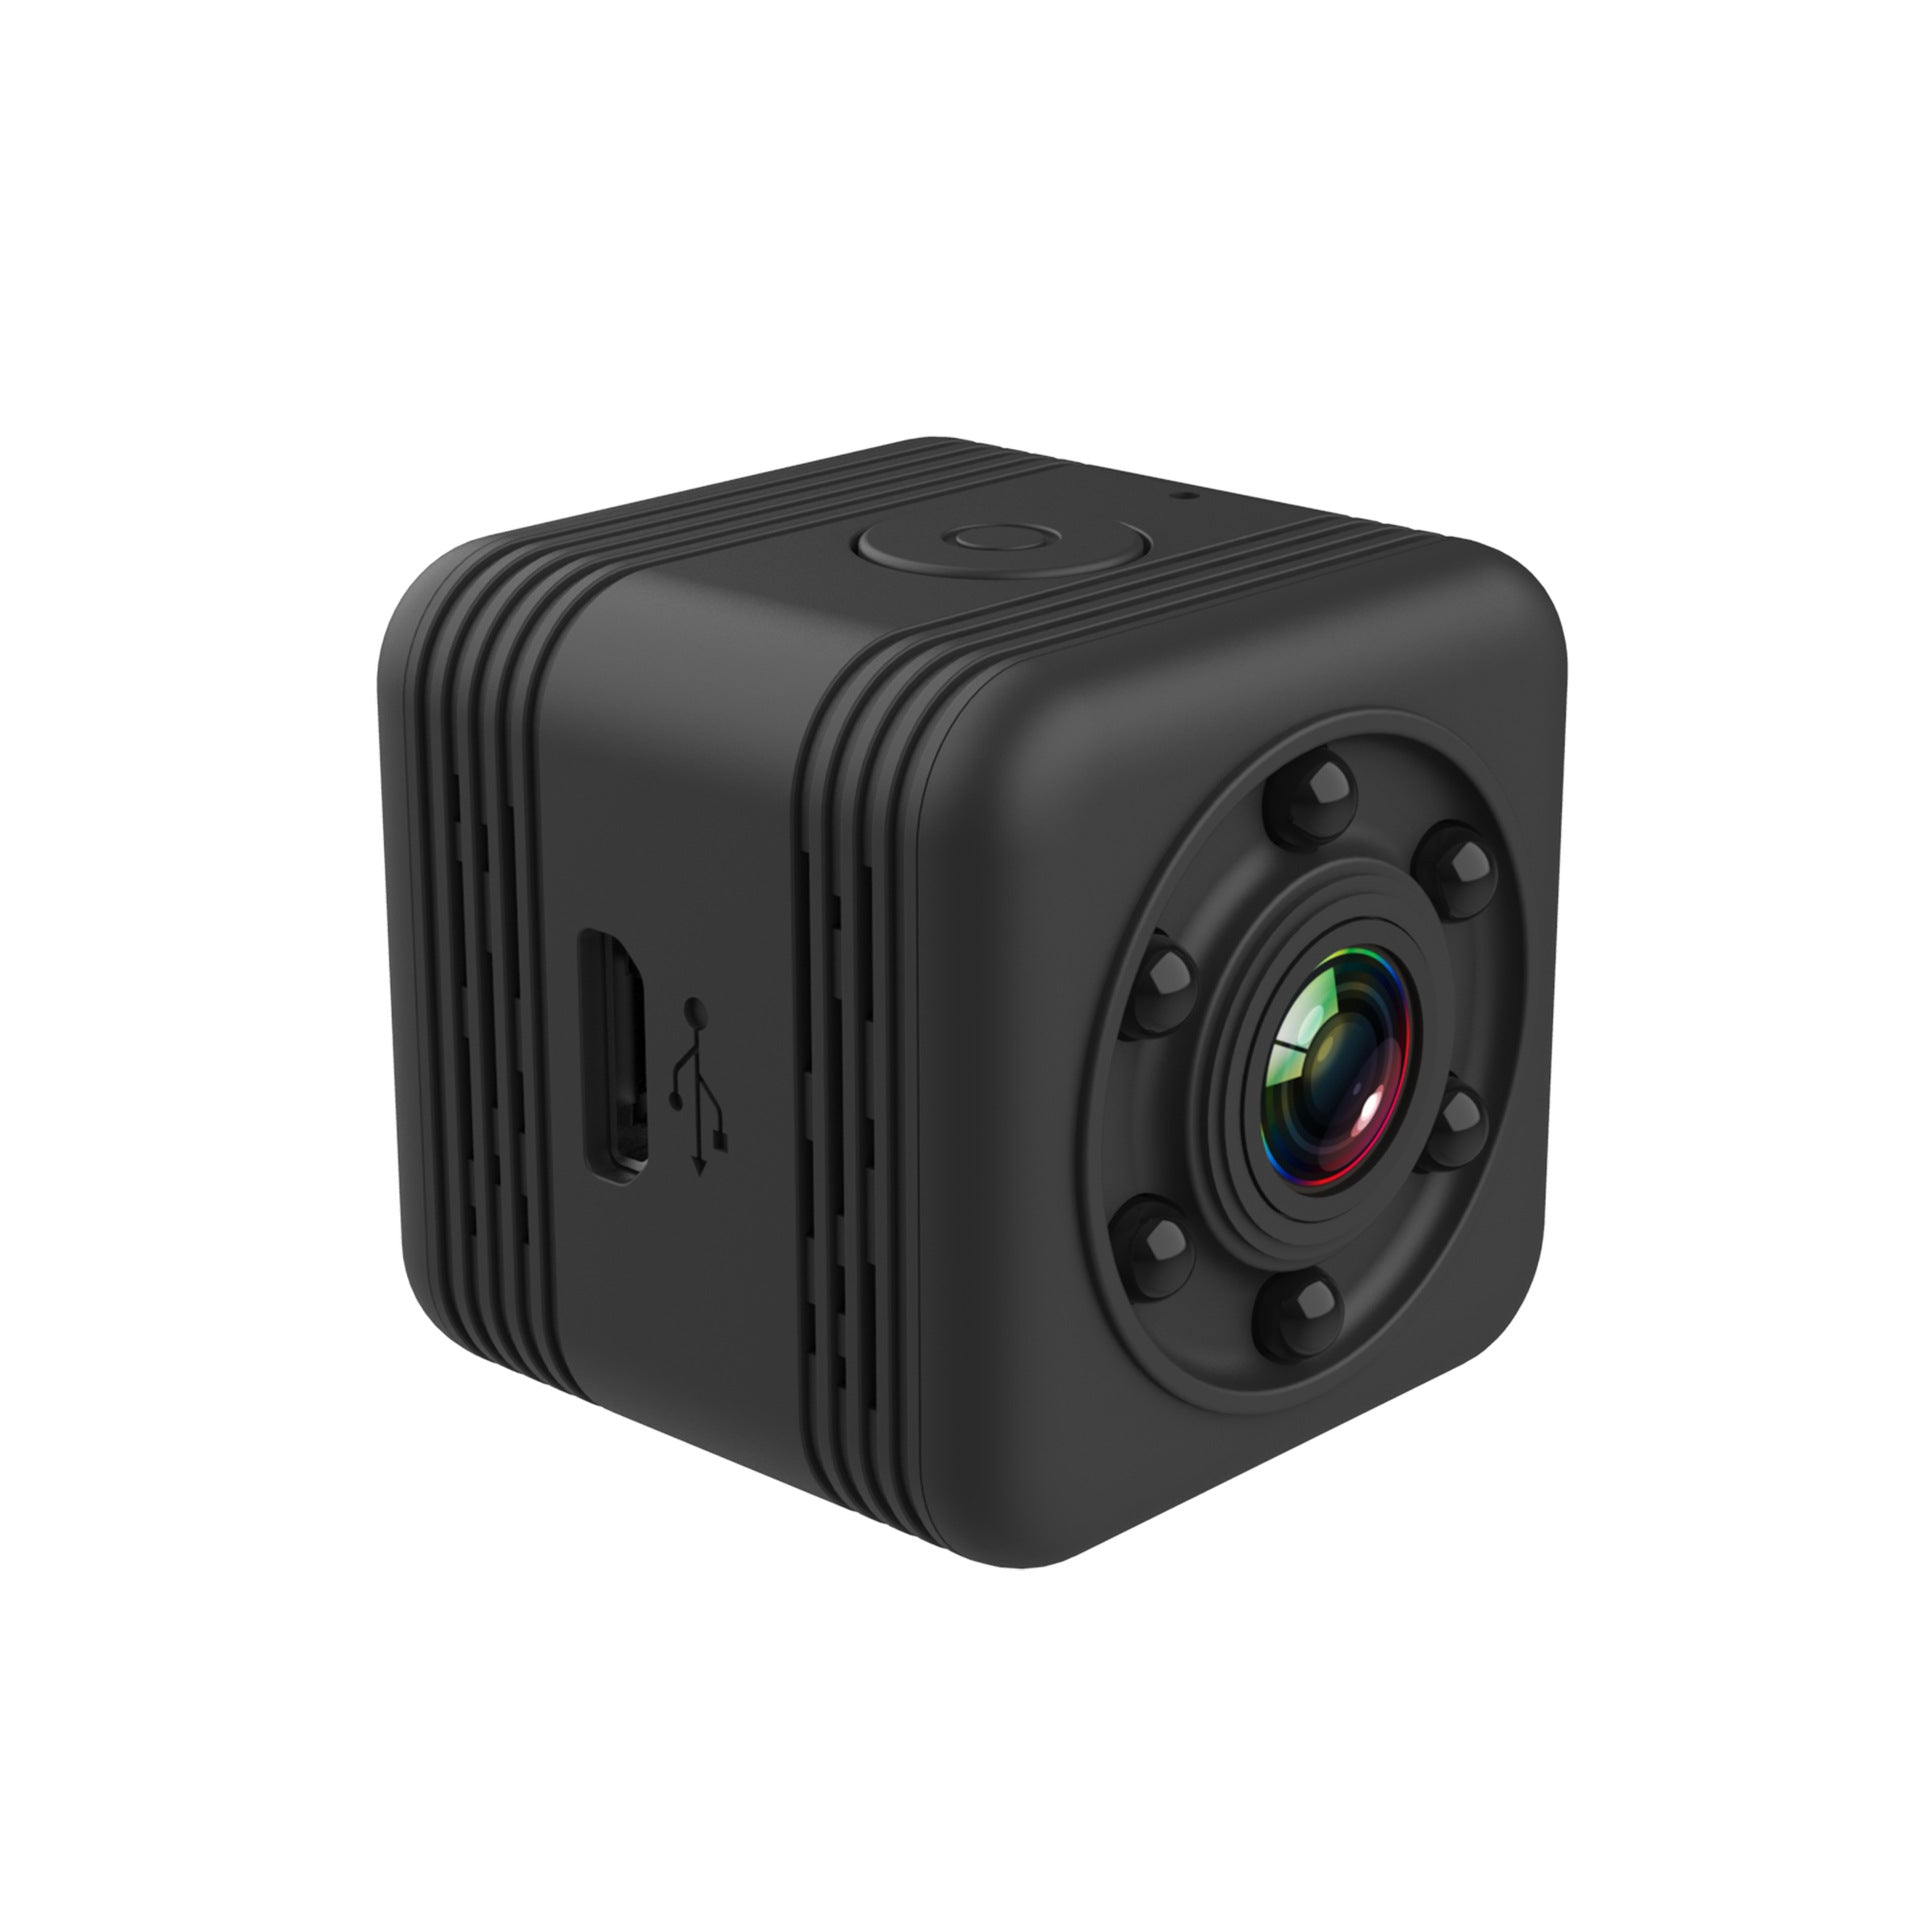
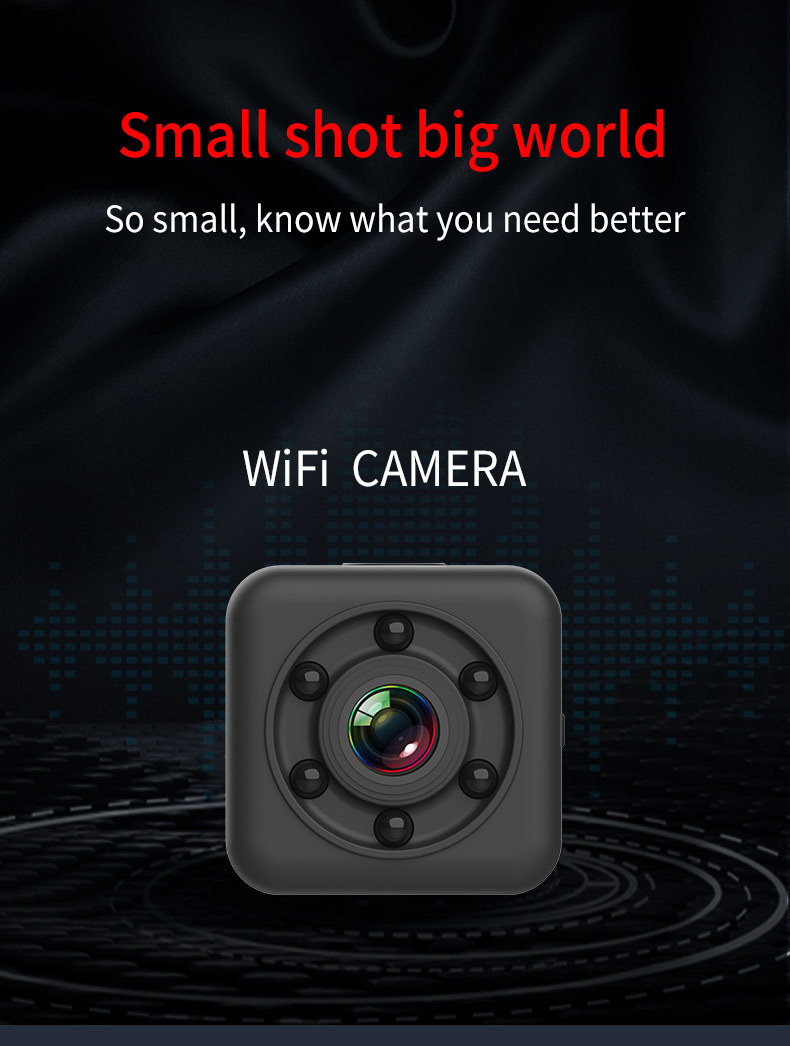
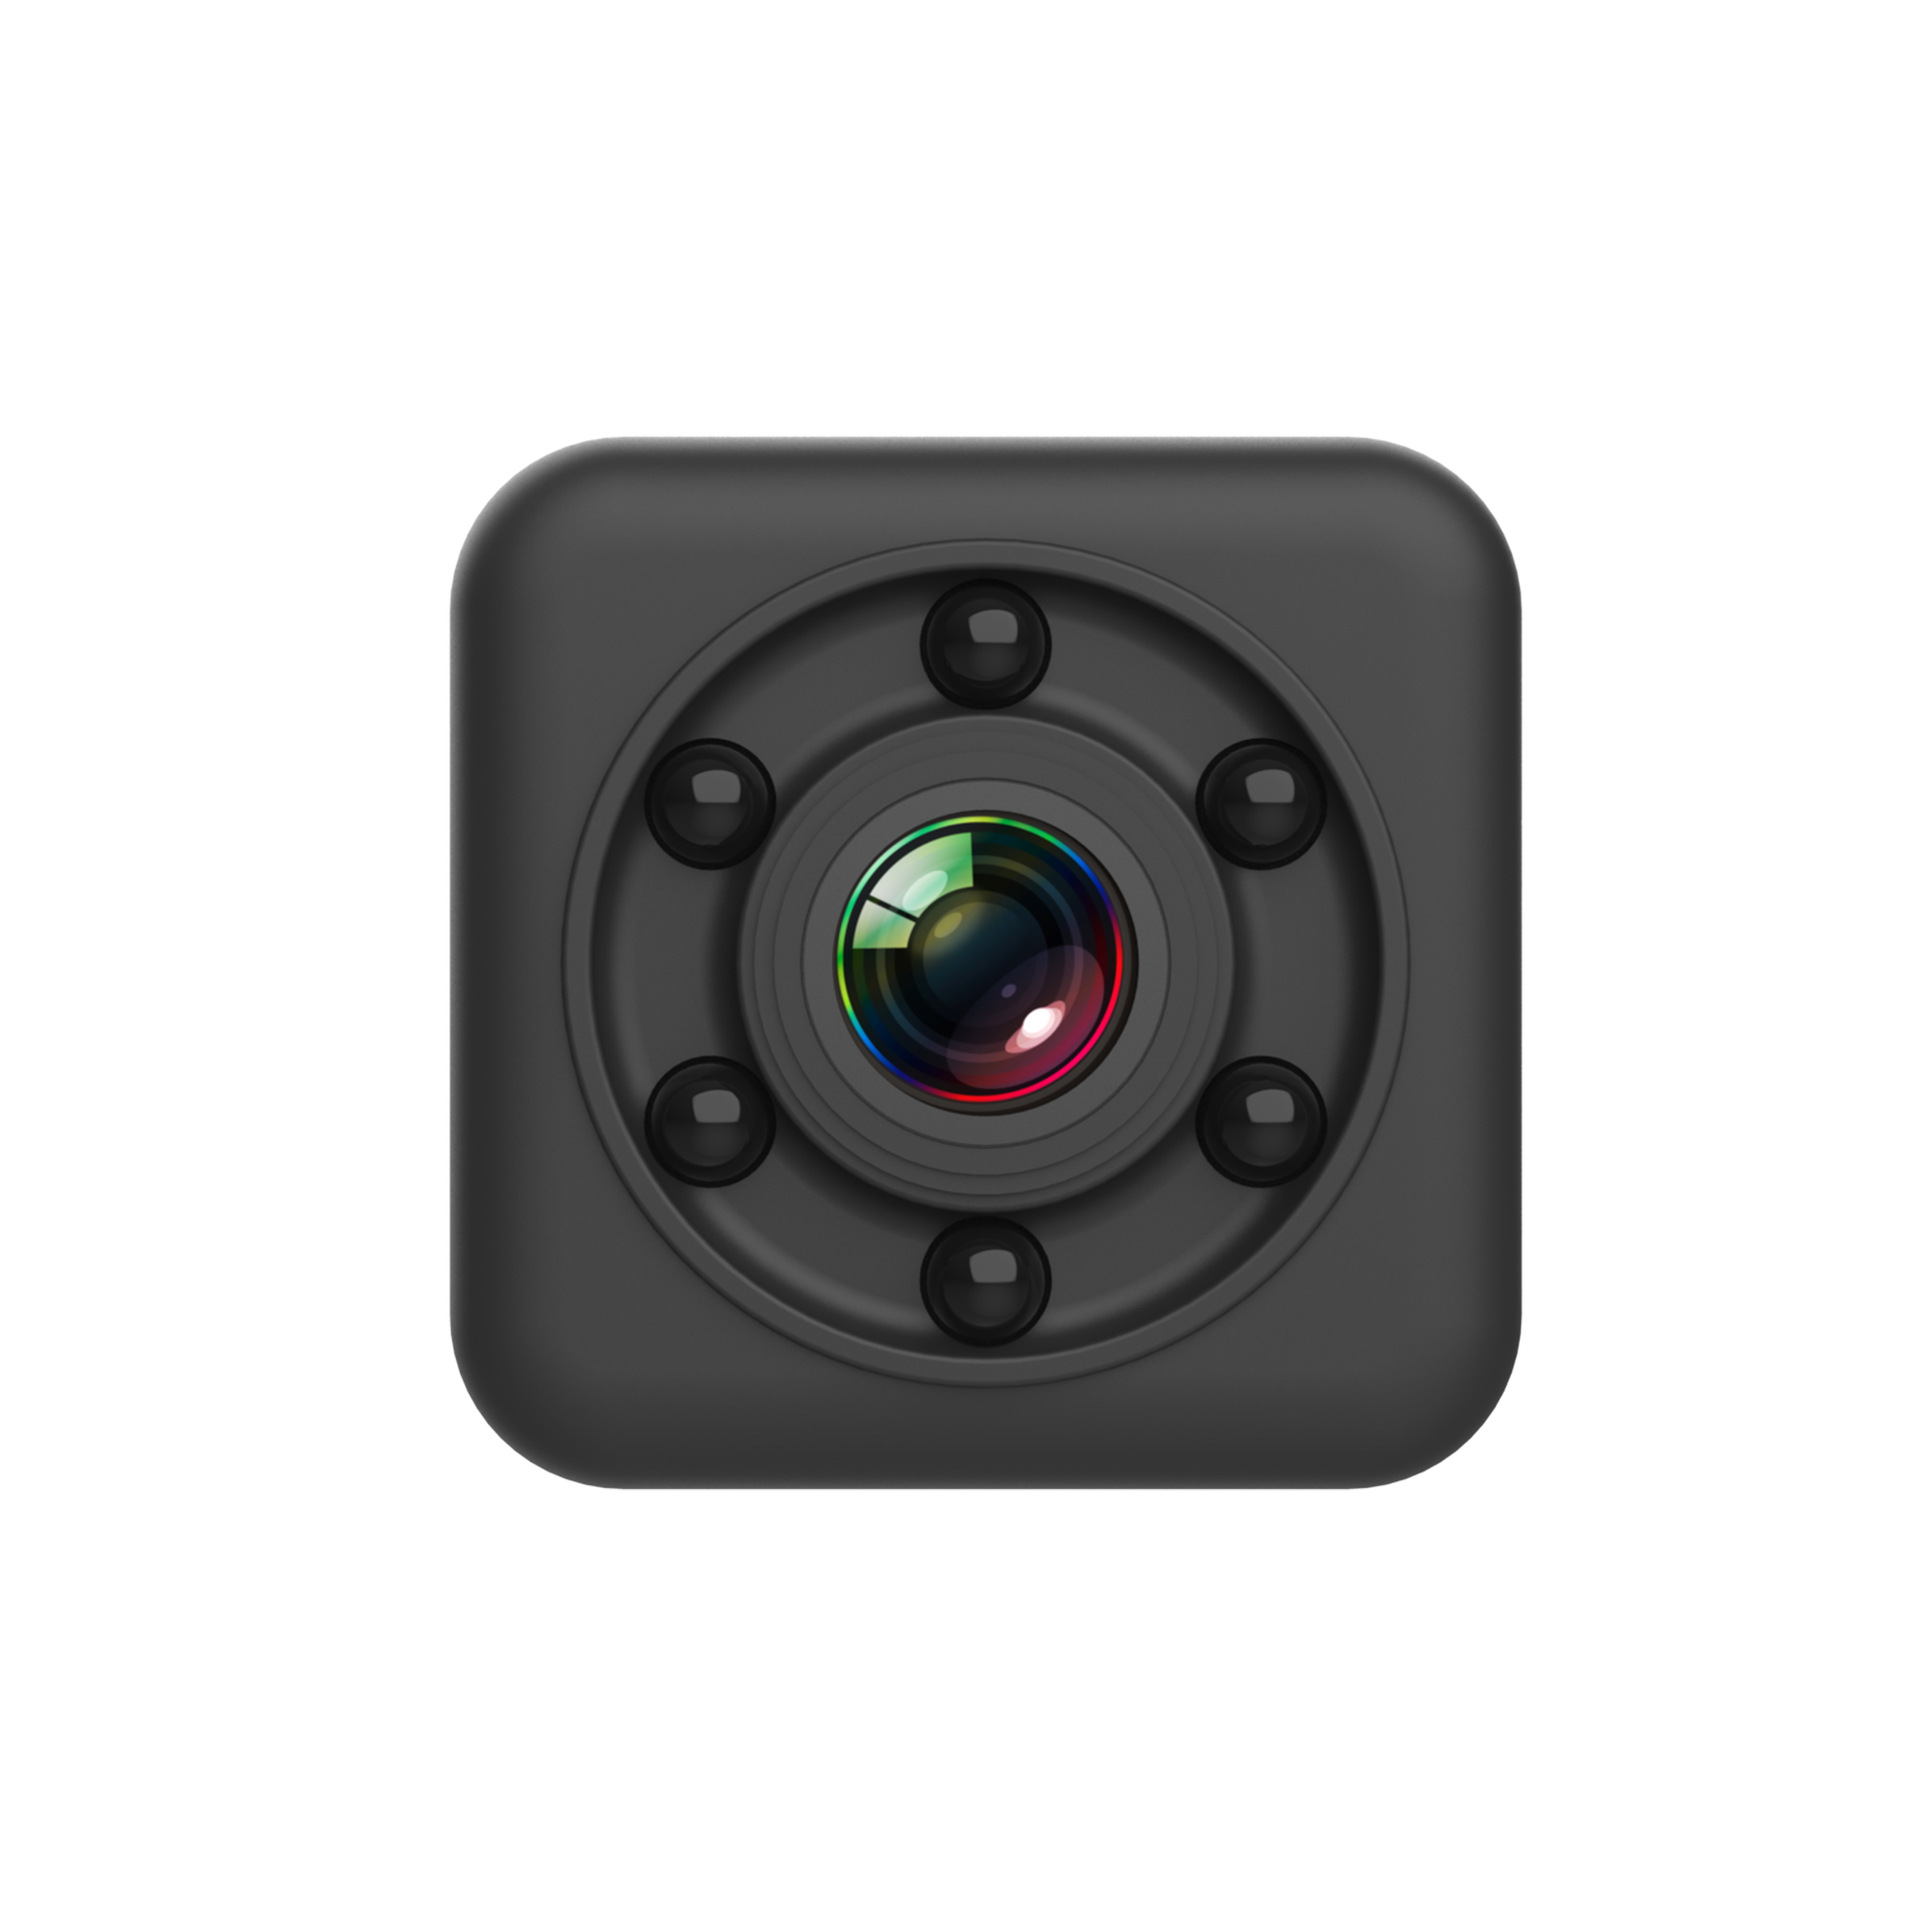
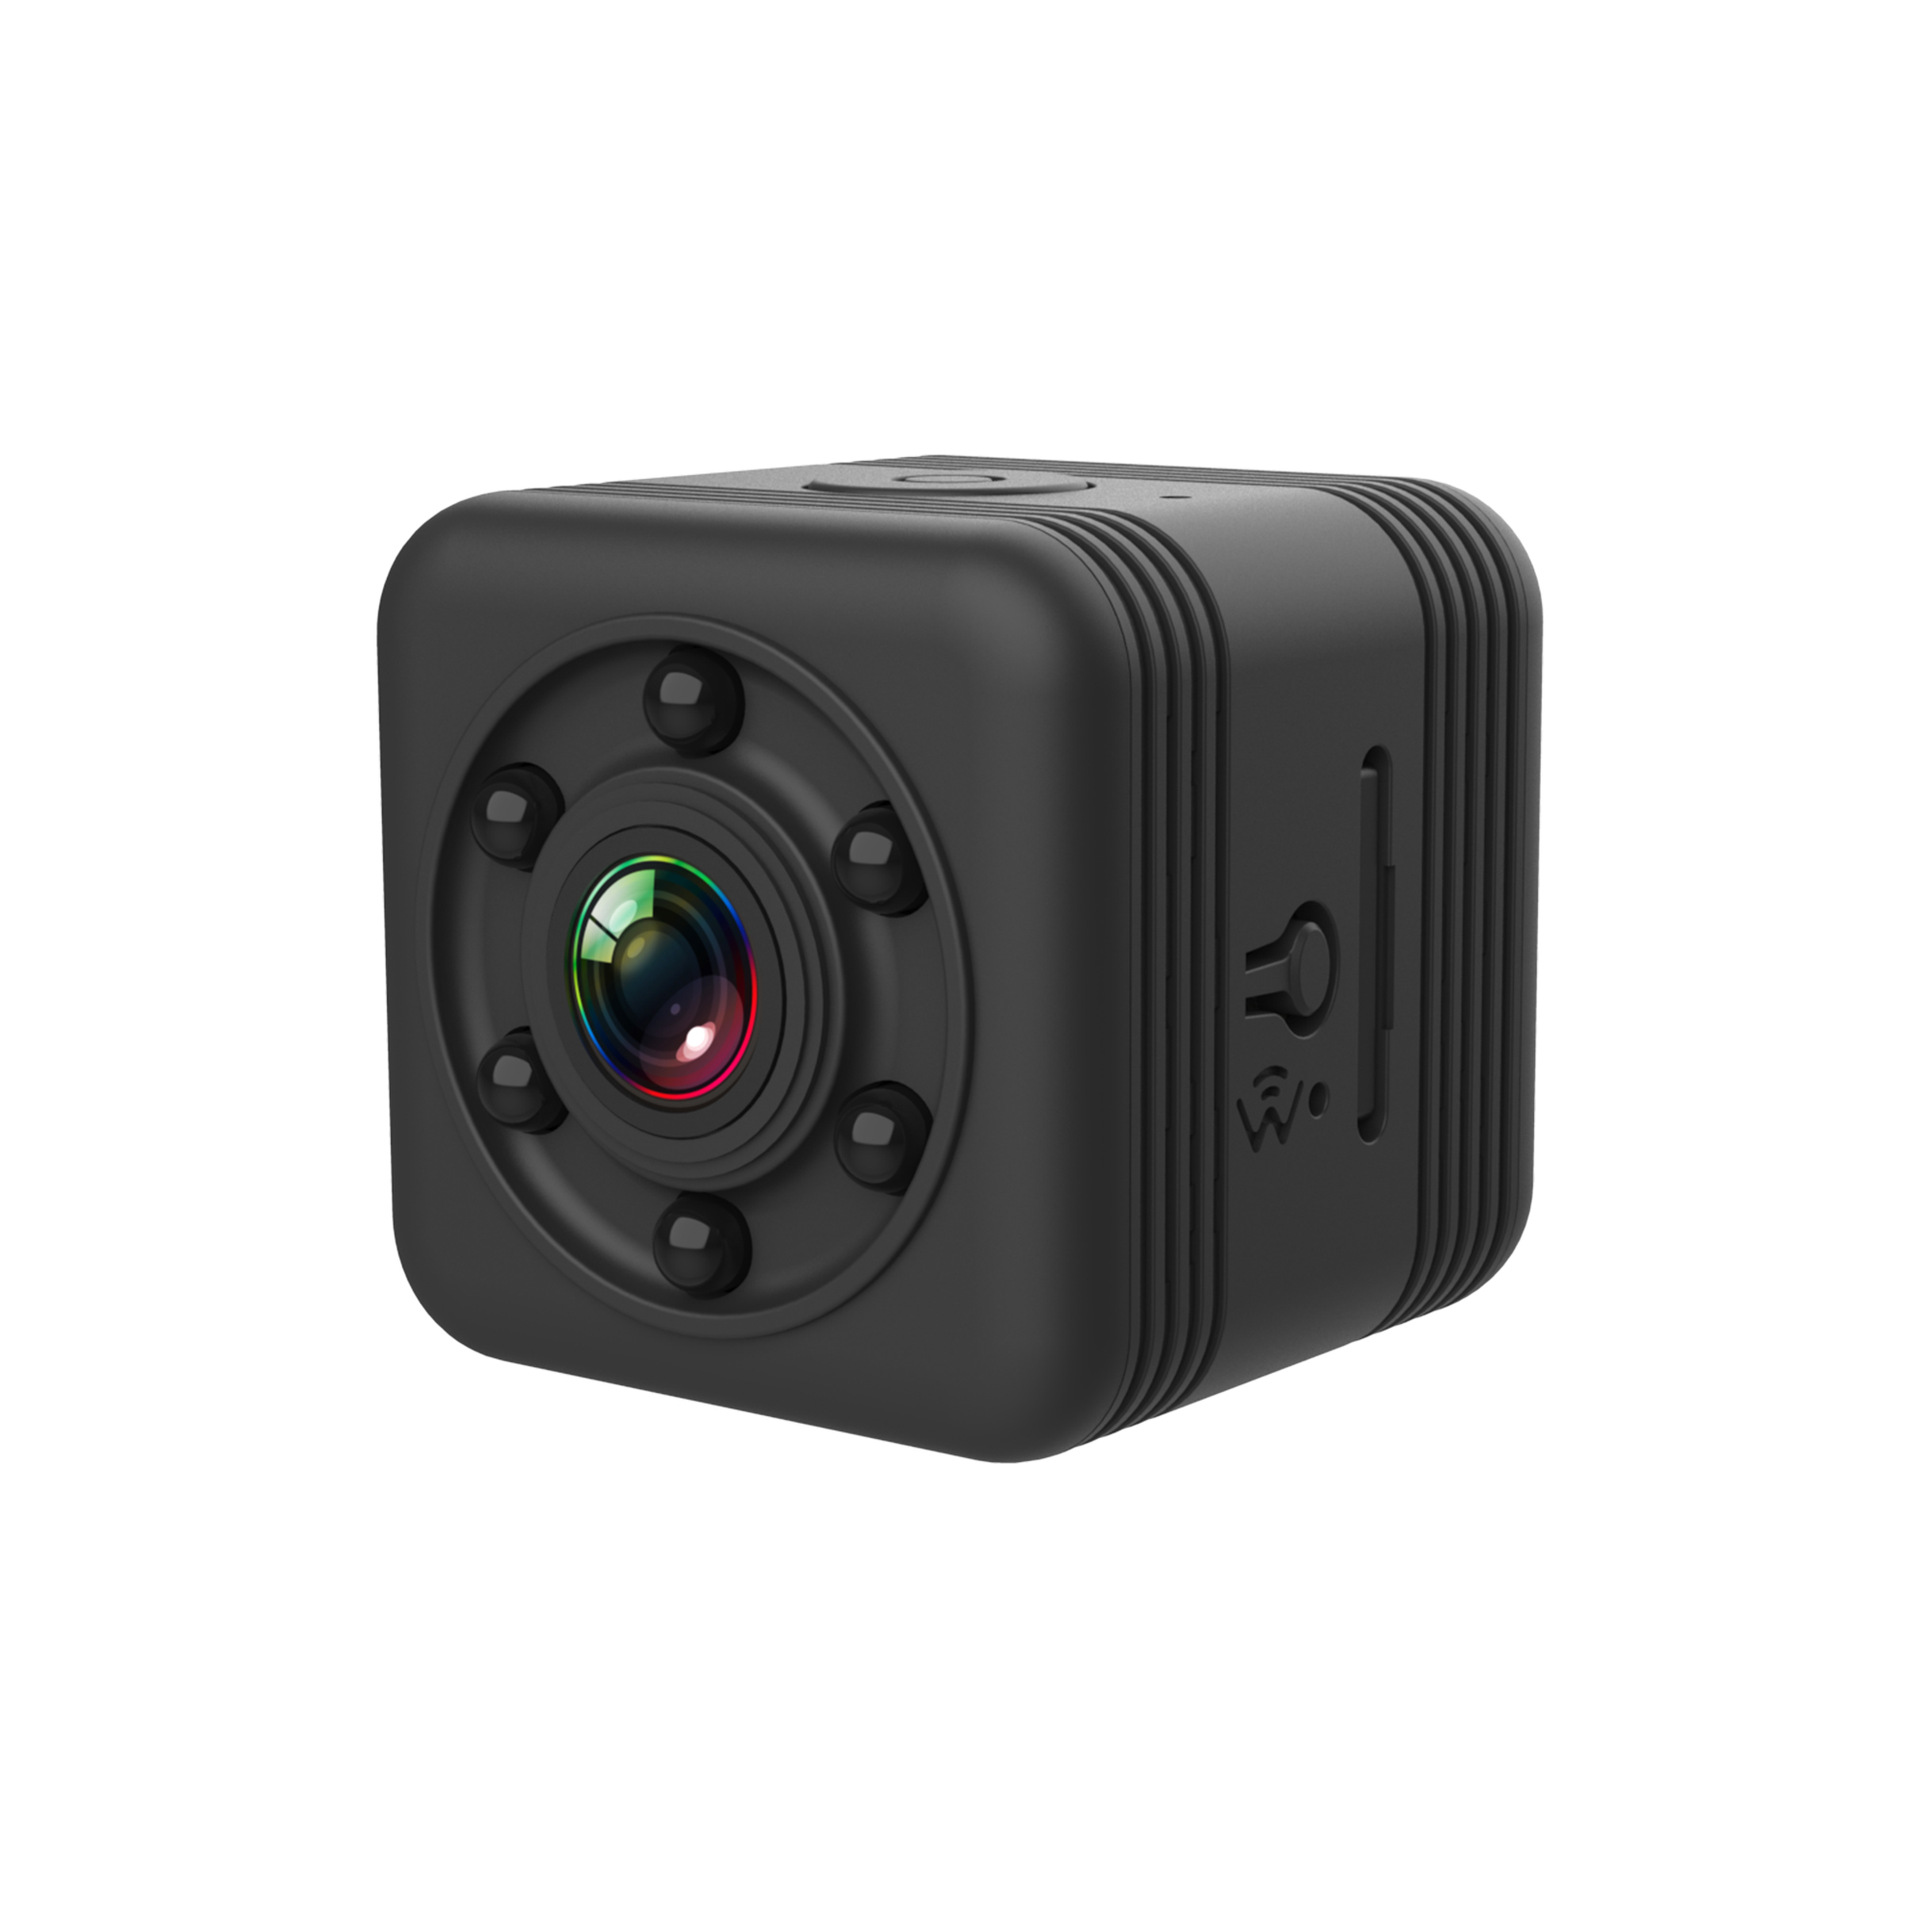
² Compact appearance design; portable hand-heldDV,DC
² Eight infrared lamps, super night-vision effect
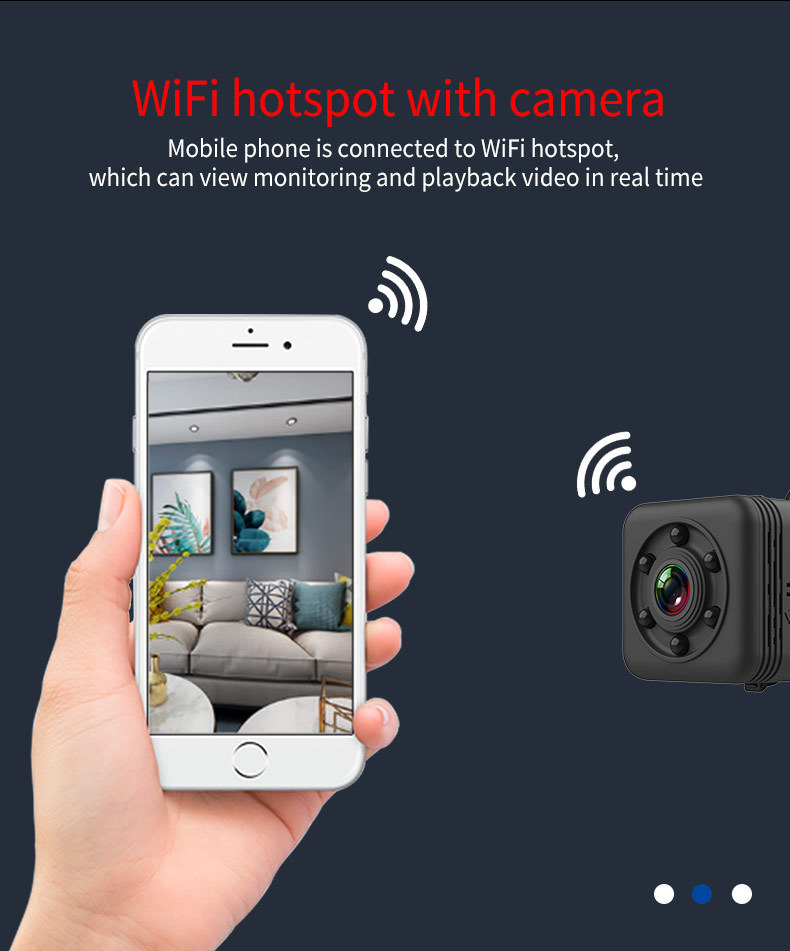
² WIFI hotspot, video real-time transmission
² High-speedUSB 2.0 interface
² Supporting 32G TF card at maximum
² Circular video available
l Indicator light description
(1) Red light: Standby, video recording, photo taking, night vision, indicator light. The red light flashes once, indicating photo taking. The red light stays on, indicating that the device is in a standby mode with a card in it. The red light flashes slowly, indicating video recording. The red light flashes quickly, indicting that night vision is on.
(2) Green light: WIFI indicator light; the green light stays on when WIFI is on, and off when WIFI is off.
l Function operation
(1) Power on:Hold down the “on/off” key, and the device starts up when the red light is on. The device goes into the standby mode when there is a card in it and when the red light stays on. The green light is off in the standby mode. The device shuts down when the red light stays on for 8 seconds and then flashes three times when there is no card in the device.
(2) Power off:In any mode, hold down the “on/off” key for 5 seconds to turn off the device. The device shuts down when the red light goes out.In the video recording state, first save files and then turn off the device.In the standby mode, without using any function, the device automatically shuts down after one minute of standby.
(3) Video recording:In the standby mode, hold down the “on/off” key for 2 seconds and release the key, then the red light flashes slowlyand the device will go into the video-recording mode. The video will be recorded continuously and automatically saved in segments every five minutes and covered in cycles. Then press the “on/off” key once to stop the video recording and return to the standby mode. The red light stays on.
(4) Photo taking:In the standby mode, press the “on/off” key once and the red light flashes once, then one photo will be taken and saved automatically.
(5) Night vision: In the video recording state, press the “WIFI” key once, the red light flashes quickly and the infrared lamp is on. Then press the “WIFI” key once, the red light flashes slowly and the infrared lamp is off. The device stops recording when the infrared lamp is on. And then the infrared lamp goes off automatically.
● APP downloading
In your Android phone or tablet, search for “Sports Camera” to download the APP from Baidu’s mobile assistant or GooglePlay Store. Or in youriPhone phone, search for “Sports Camera” to download the APP fromApp Store. You can also download and install the APP by scanning the QR code on the product manual or the packaging box of the product.
● WIFI mode
(1) WIFI switch
① Without card: Turn on WIFI, and press the WIFI key for 3 seconds within 8 seconds when the device starts up and when the red light is on. The green light goes on, indicating that WIFI is on. The device shuts down automatically after more than 8 seconds.
② With card: Turn on WIFI. In the standby mode, hold down the WIFI key for 3 seconds. The green light stays on, indicating that WIFI is on. Again hold down the WIFI key for 3 seconds. The green light goes out, indicating that WIFI is off and the device returns to the standby mode.
③ WIFI connection:In WIFI Settings of your phone or tablet, search for the network with the connection name beginning with “SQ” (such asSQ29_ 8888). If there is a card in the device, the green light flashes when WIFI is connected successfully. Open the mobile APP to enter the main interface, then click“” to enter the operationinterface. Choose “Video/Photo” in the operation interface, or press keys of the device to operate. In case of any problem during operation, please click “Help” in the main interface. (Note: When recording a video and saving it to the phone in the operation interface, the device will stop recording if you exit the APP or return to the main interface or your phone screen saver).
Infrared light: In WIFI video recording mode, press the “WIFI” key once, then the green light stays on, the red light flashes quickly and the infrared lamp is on. Then press the “WIFI” key once, and the green light stays on, the red light flashes slowly and the infrared lamp is off.The device stops recording when the infrared lamp is on. And then the infrared lamp goes off automatically. (Note: The infrared lamp can only be turned on by choosing to save the video to the TF card. The infrared lamp can not be turned on if you choose to save the video to the your phone. )
● Charging while recording
Insert the TF card and externally connect the USB cable. Connect to a 5-volt USB power source or power bank (mobile power), then the device goes directly into the video recording mode. It will keep recording and cover in cycles in case of no manual stop. You can manually stop recording and switch to any mode.
● Time setting
When connected to WIFI, the device will automatically synchronize the time of the phone. To remove the time watermark, please operate in the APP settings to turn it on or off.
● Charging state
The red light stays on when the battery is being charged. The red light goes out when the battery is fully charged. When there is a card in the device, it does not prompt for charging, but only for the operating mode.
● Reset
If the device has any abnormality and cannot work normally, you can press the “WIFI” key and the “on/off” key at the same time to reset the device.The device can be used normally after reset.
● Connecting to the computer
The device can be directly connected to the computer when it is on, off or in the standby mode. After being connected to the computer, the device can be used as a U disk to freely copy, clip or delete files, or format the U disk. It can also be used as a computer camera (when used as a computer camera, a memory card cannot be inserted into the device). Connect the device to the USB interface of the computer. After a few seconds, the computer will pop up the logo of the removable disk.The red light flashes, indicating that the USB device is being identified. Then data can be transmitted.
Notes:
① Please make sure that theT-flash (Micro SD) card is inserted into the product. If the card is not inserted, the red and blue lights will flash and the device cannot work normally.
② Please aim the lens at the subject to be shot in a well-lit environment. Keep at least 50 centimeters away from the subject to be shot. In this way, you will get the proper image with natural colors, clear scenery and stable picture.
③ Requirements for theTF card: 1.1-32G 2.C10high-speed brand card 3. Format the card first, then insert it into the device and turn on the device.
● Relevant parameters
|
Items |
Relevant parameters |
|
Video format |
AVI |
|
Video decoding |
M-JPEG |
|
Video resolution |
640×480 |
|
Video frame rate |
20fps |
|
Image scale |
16:9 |
|
Photo resolution |
640×480 |
|
Image format |
JPG |
|
Battery type |
Built-in high-capacity polymer lithium battery |
|
Battery capacity |
300mAh |
|
Working hours |
Photography can last for 90 minutes. |
|
Charging voltage |
DC-5V |
|
Supporting storage |
Supporting 32G TF card at maximum |
|
Transmission speed |
High-speedUSB2.0 |
|
Interface type |
MicroUSB |
|
Supporting systems |
Windows;Mac Os;Linux |
|
Media player |
System-provided or mainstream audio and video player software |
Notes:
① Charge the battery when it is used up. It takes two to three hours to fully charge the battery. When the indicator light indicates that the battery is full, try to charge it for another 30 minutes to ensure that the battery is fully charged.
② It is normal if the product has some heating status. Please do not worry about defective products. All our products have gone through a long aging test to ensure that there is no quality problem before delivery.
Notes:
Application: Please strictly comply with relevant laws of the country where the user is located. It is prohibited to use this product for any illegal purposes, otherwise the user will be liable for the consequences.
Operating temperature: Please use the device at natural temperature. Do not use it at a temperature that the human body cannot adapt to.
Operating humidity: Please use the device under suitable humidity for human. Do not place the product in a humid operating environment. The product does not have the waterproof function and should avoid water or exposure to rain.
Photographing requirements: Please use the device in an environment with sufficient light. Do not direct the camera at the sun and other strong light sources, so as not to damage the optical components.
Cleaning requirements: Please do not use the device in an environment with excessive dust density to prevent the lens and other components from being contaminated with dust so as not to affect the photography effect.
